A Designer's Take on School-Themed Embroidery Icons
When a new design lands on my desk, my first thought is always about its practical life. How will it stitch out? What will it feel like on fabric? And most importantly, who will connect with it? That’s exactly how I approached the School Themed Black White Vector Icons. Let me walk you through what I see as a designer who uses files like this for client projects and my own shop products.
First Impressions: Clean Lines and a Playful Mood
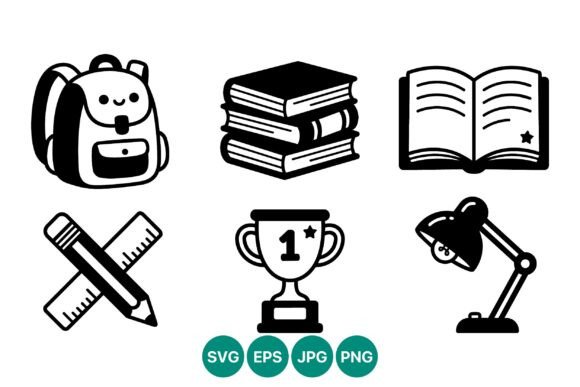
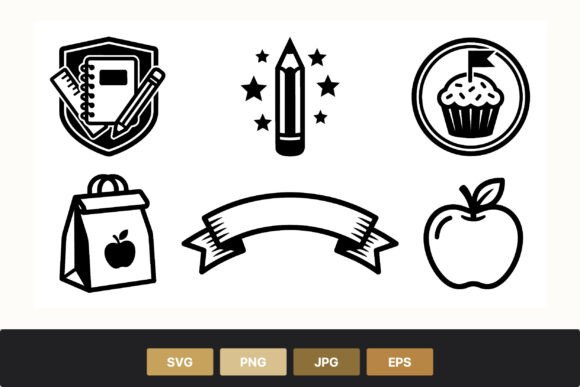
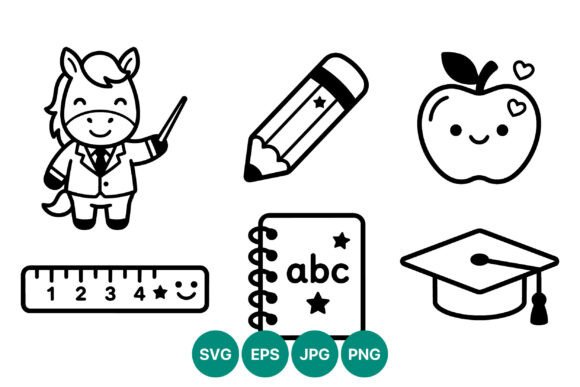
Opening this set, the mood is immediately clear: playful, educational, and warmly professional. The smiling apple with hearts and the horse teacher holding a pointer have a charming, vintage-modern hybrid feel. The shapes are clean with defined outlines, which is excellent news for embroidery. Too many tiny, intricate details can turn into a muddy mess of stitches, but these icons look like they have enough open space to remain crisp. The black and white nature gives it a classic, versatile personality—it doesn’t scream a specific season or trend, which means it can work year-round.
The Natural Home for These Icons: Real Project Scenarios
I immediately pictured a custom tote bag for a favorite teacher. The graduation cap or the star-decorated pencil would be perfect centered on a natural canvas bag. The clean, bold lines would translate beautifully into solid satin stitches or crisp fill stitches, creating a gift that feels handmade yet professional. Another scenario that popped up was a set of embroidered patches for a child’s backpack or a teacher’s apron. Each icon could stand alone as a small, impactful patch. For small business owners, think about a coordinated line of products: a pillow cover with the ABC notebook for a nursery, a kitchen towel with the smiling apple for a teacher’s lounge gift, or a simple cap with the graduation cap icon.
This set falls under Illustrations and Graphics, and that’s key. It’s not an overly detailed scene; it’s a collection of symbols. That makes it incredibly adaptable. You could use one icon for a minimalist baby onesie or combine several for a more decorative pillow cover. The versatility is a major plus for craft businesses that need to create multiple products from one core embroidery file.
Performance on Fabric: Where They Shine and Where to Be Careful
In real-life embroidery projects, these icons should perform well on standard custom apparel like cotton t-shirts, polo shirts, and denim. The clear shapes will help maintain stitching clarity. However, as with any design, you need to be strategic.
Watch out for very small hoop sizes if you’re trying to stitch all icons together in a group. Individually, each icon should be fine at smaller sizes, but always check the detail level. The tiny hearts in the apple or the pointer in the horse teacher’s hand could get lost if scaled down too aggressively on a dense fabric like a sweatshirt. Stitch density will be crucial here—a good embroidery design file will have appropriate density settings, but always test on scrap fabric first.
For textured fabrics like towels or thick blankets, use a sturdy stabilizer to keep those clean lines from puckering. On dark fabric, the white elements will pop, but you might consider using a bright white thread to maximize contrast. Conversely, on light fabric, a true black thread will give that sharp, graphic look. Avoid very stretchy fabric without proper stabilization, as the fill stitches for the larger icons (like the apple or ruler) could distort.
Enhancing Value and Appeal in Your Craft Business
From a commercial perspective, using a cohesive set like this boosts brand consistency. If you’re an Etsy seller specializing in teacher gifts or school merchandise, having a series of products featuring these icons creates a recognizable collection. It increases customer trust because your work looks intentional and professional. The handmade presentation becomes more polished.
The giftability of products made with these icons is high. They’re instantly recognizable and evoke positive sentiment. For a personalized gift, adding a name alongside the graduation cap, for instance, would be a beautiful touch. This directly affects buyer engagement—customers looking for a thoughtful present will immediately understand the product’s purpose.
Practical Notes Before You Hoop Your Fabric
My routine before any real project is simple but non-negotiable. For the School Themed Black White Vector Icons, I would strongly advise:
- Test on scrap fabric first. Use the same material you plan for the final product. See how the small details stitch out.
- Check thread color contrast. Don’t assume black and white. Try your actual threads on your actual background fabric.
- Review the design in black and white mockups on both light and dark backgrounds. This helps visualize the final product for your digital product previews or printable mockups.
- Confirm your hoop size and machine settings. Ensure the design dimensions fit your planned item, whether it’s a tote bag design or a tiny baby embroidery on a hat.
- Always use the proper stabilizer for your specific fabric texture and project type.
- Most importantly, check the licensing terms included with the download. Confirm whether it’s suitable for personal and commercial projects before selling any finished product or using it in commercial embroidery for client work. This protects your craft business.
This set has a straightforward, friendly character that translates well into the physical world of stitches and fabric. It doesn’t try to do too much, which is often the secret to a successful, repeatable embroidery project. Whether you’re preparing for back-to-school season, creating gifts for educators, or adding a classic line to your small shop merchandise, these icons provide a solid, adaptable foundation. Just remember to do your practical homework first—that’s what turns a good digital file into an exceptional handmade product.